
A Simple Place for the Things You Don’t Want to Lose
There are so many little things from baby’s earliest days that you may want to save. The hospital bracelet, coming home outfit, first bow, baby shower cards, photographs, or a special piece you hope to give back to them one day.
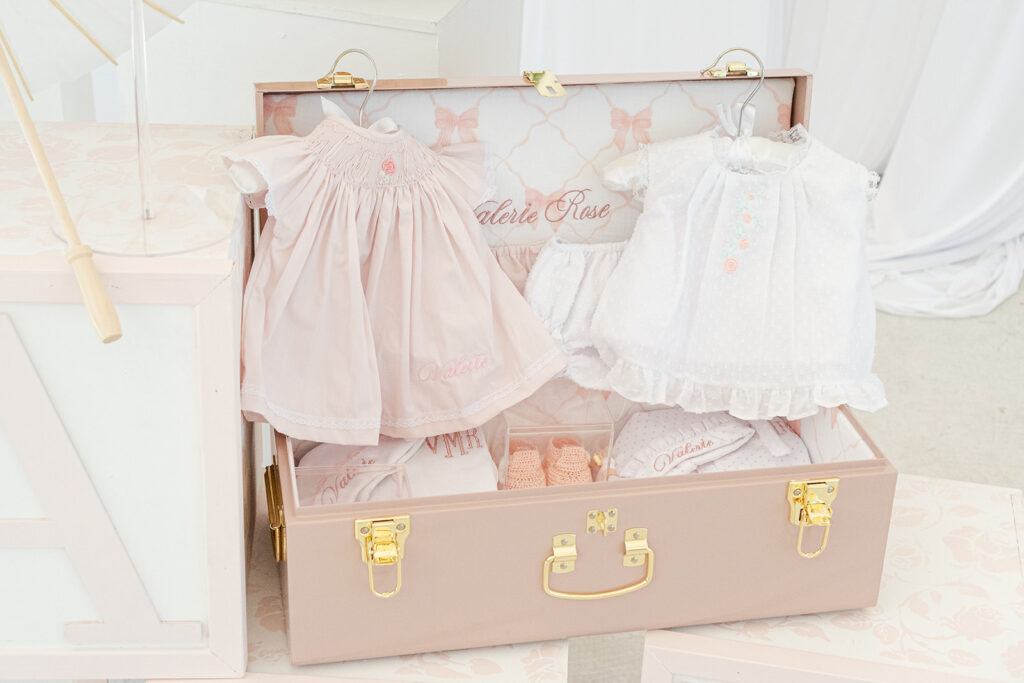
I wanted one designated place for those things for my baby girl, so I took a simple trunk I found on Amazon and transformed the inside with padded fabric panels and her embroidered name.
If you’re preparing baby’s room or simply wondering where all those special pieces will eventually go, this is a project you can make your own.
What You’ll Need
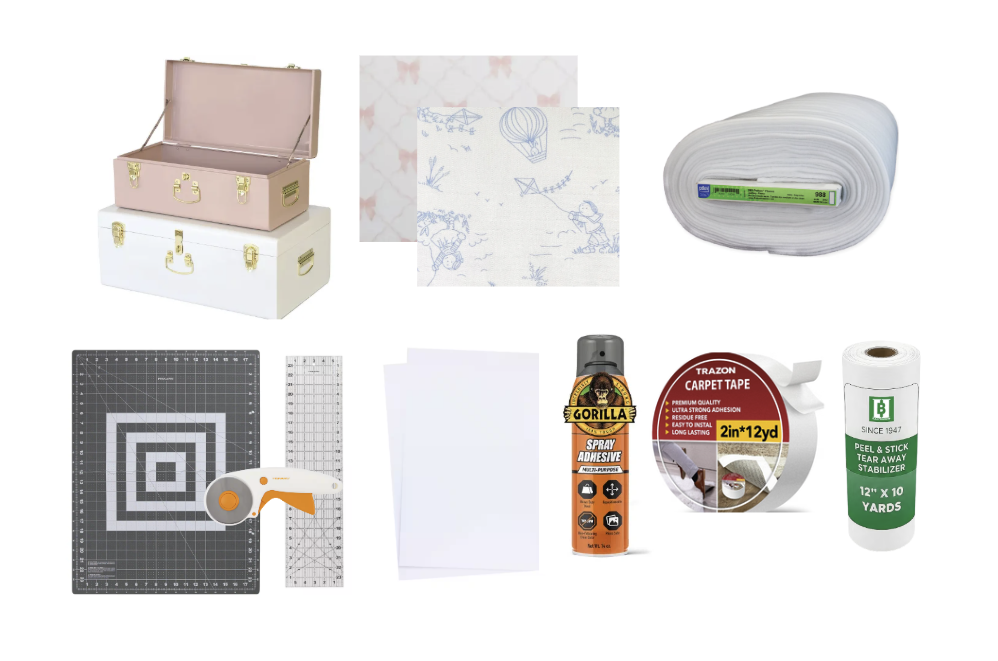
For my trunk, I used:
You can make yours as detailed or as simple as you’d like.
No embroidery machine? You can still create a personalized look with an iron-on name patch, a Cricut design, or get it embroidered at a local shop. I embroider at 6970 Taft St, Hollywood, FL 33024. Direct message me for an appt time.
A little note: This post may contain affiliate links. We may earn a small commission if you choose to shop through them, at no additional cost to you.
Links:
Acid Foam Boards, if you buy one it is only enough for the pink trunk
How I Made My Baby’s Keepsake Trunk
1. Measure and Cut the Foam Board
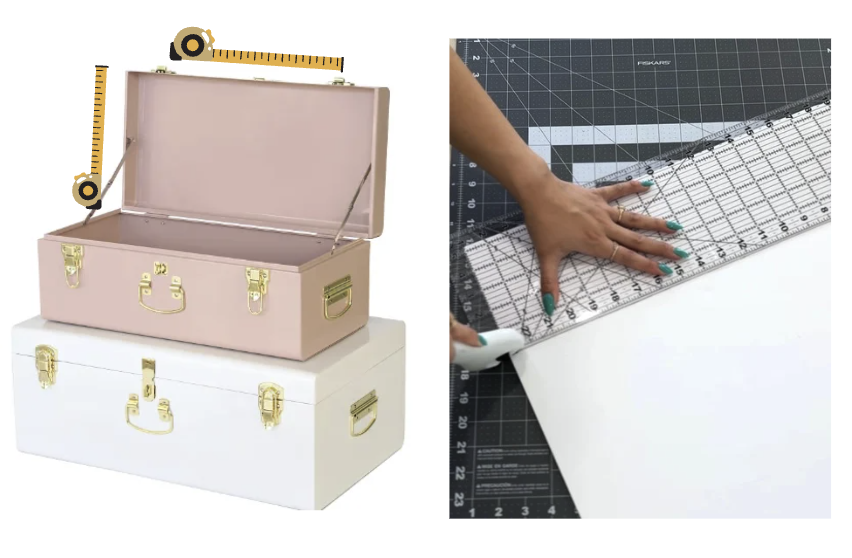
Start by measuring the inside of your trunk. You’ll need the 20×30″ foam-boards to construct the panels for the sides and the two larger panels for the top and bottom of the trunk.
Measure each section separately, since the dimensions may vary slightly from one area of the trunk to another.
When cutting your foam board, make each panel just a little smaller than the interior measurement. Remember that you’ll be adding batting and fabric, which will add thickness around the edges. Leaving that small amount of room will help all of the finished panels fit neatly together.
I used a cutting mat and sewing ruler to measure and cut each piece as accurately as possible.
Before moving on, place the plain foam-board pieces inside the trunk to make sure your measurements work.
2. Embroider Your Personalized Panel
If you’re adding embroidery, do it before attaching the fabric to the foam board.
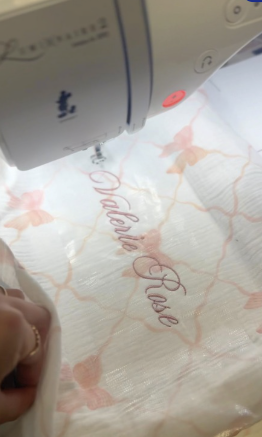
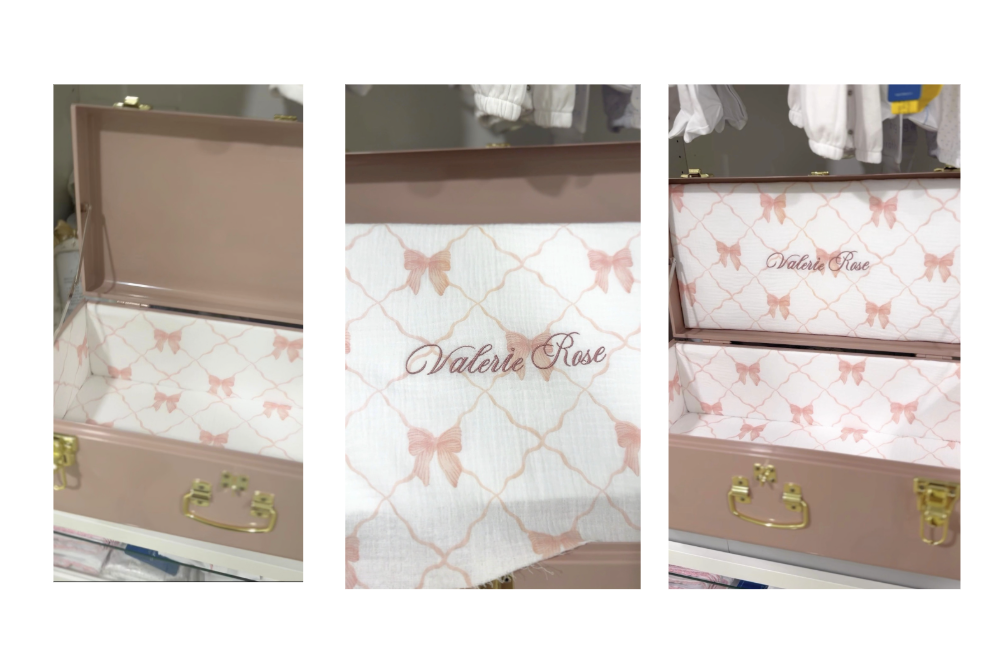
I kept the side panels simple and embroidered the fabric for the larger panel with my baby girl’s name Valerie Rose.
I used Floriani embroidery thread and tear-and-stick stabilizer. The stabilizer made it much easier for me to position the embroidery exactly where I wanted it.
This is completely optional. An iron-on name patch or Cricut design can give you a similar personalized look without embroidery.
3. Add the Batting and Fabric
Cut the batting and fabric slightly larger than the foam board so there’s enough to fold around the edges.
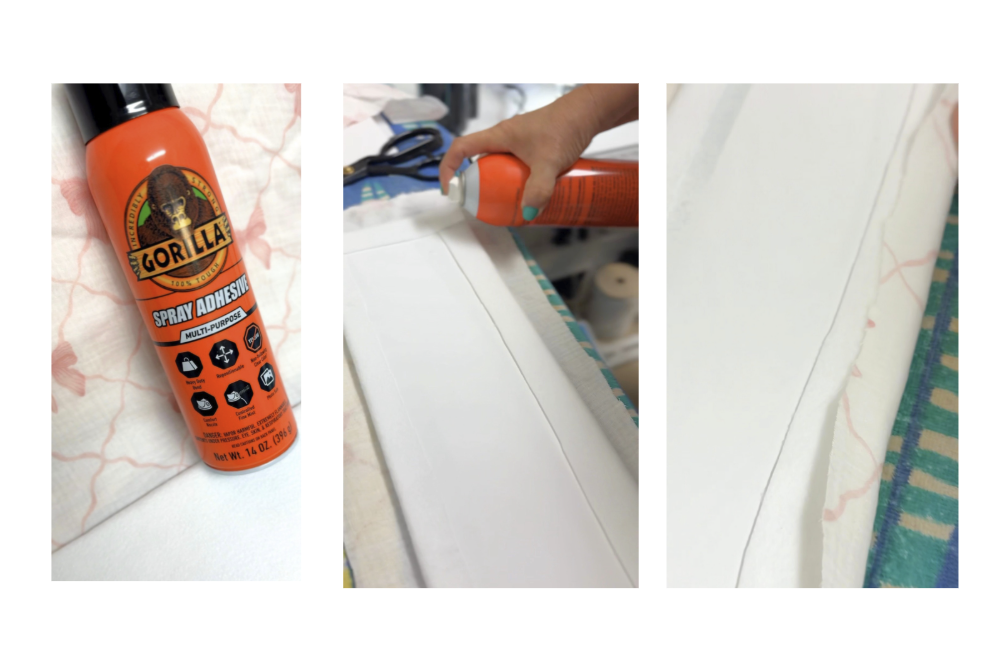
Lay the batting down first and place the foam board on top. Working from the back, spray the foam board, fold the batting over, and secure. Repeat on each side.
Next, lay the fabric face down, place your batting-covered board on top, and do the same thing: spray, fold, and secure each side.
If the corners get bulky, simply trim away the overlapping fabric before securing it.
Flip it over, smooth the front, and your panel is ready.
4. Test the Fit and Secure the Panels
Before gluing anything, place all of your finished panels inside the trunk to make sure everything fits neatly. Start with the side panels, then test the larger top and bottom panels.
Once you’re happy with the fit, remove them and secure each panel using Gorilla Glue spray adhesive and carpet tape for extra hold.
Start with the side panels first, then add the larger panels, checking the corners as you go.
And voilà. A simple trunk became a personalized keepsake trunk made especially for my baby girl.
What Can You Put in a Baby Keepsake Trunk?
You don’t need to decide everything you’re going to save before baby arrives.
That’s part of why I like having one designated place for it all. As baby grows, you can simply add the pieces that feel worth keeping:
- Hospital bracelet
- Birth announcement
- Coming home outfit
- First swaddle or bow
- Baby shower cards
- Fresh 48 or newborn photographs
- Baptism or dedication pieces
- First birthday keepsakes
- Special holiday pieces
- Letters and cards
- A favorite tiny outfit
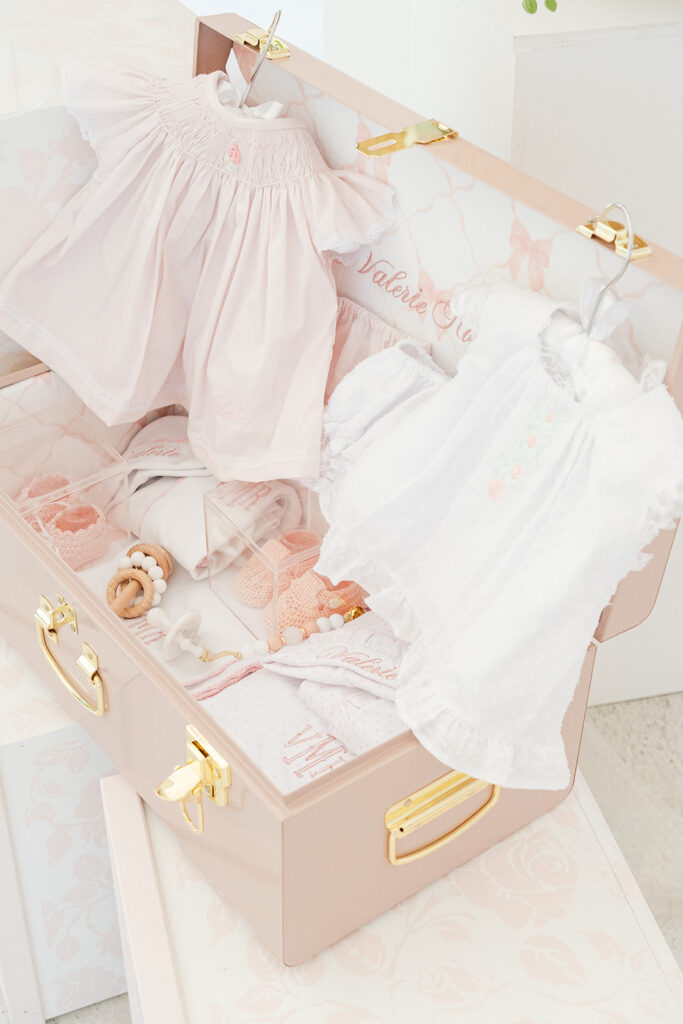
For us, this feels especially fitting because so much of what we create at Sol & Bella is personalized and made for these exact moments, from coming home pieces and bows to baptism outfits and other special details. Some of those tiny pieces may be worn for only a short season, but they’re often the ones we want to tuck away afterward.
You don’t have to save everything.
The trunk is simply a place for those things you pick up and think, I don’t want to lose this.
A Place for Her Little Treasures
If you’re making one while preparing baby’s room, don’t worry about having the whole trunk planned from the beginning.
Start with a trunk you like. Choose a fabric you love. Add baby’s name or another personal detail if you’d like. Then let the things you save find their way inside over time.
For now, my baby girl’s trunk is ready for her treasures. Someday, we’ll be able to open it together and see all the little pieces of where her story began.

Leave a Reply